
Game Design & Level Design: Practical Guide for Indie Devs
· #game design #level design #indie game dev #gamedev #prototyping
Discover essential game design and level design techniques to streamline your indie game development, improve player experience, and keep scope under control.
Creating an engaging indie game requires far more than just a creative idea or coding skills. The real secret to keeping players entertained from start to finish lies in combining solid game design with smart level design. Solo developers and small teams frequently face the challenge of balancing ambition, time, and limited resources to deliver a memorable experience.
In this practical guide, we'll cover the core principles of structuring your game loop, guiding players intuitively, streamlining production, and avoiding common pitfalls that plague many independent projects.
1. Defining and Refining the Core Loop
The core loop is the chain of repetitive actions players perform throughout the game. If this primary mechanic isn't fun on its own, adding more systems or longer levels won't fix the problem.
Keep Mechanics Simple at the Start
One of the most common mistakes among indie studios is trying to build overly complex systems right in the first iteration. Before adding massive skill trees, dozens of items, or intricate combos, make sure your basic movement and core mechanics feel satisfying.
- Test mechanics in greybox: Build a prototype using simple geometric shapes (like cubes or rectangles) and evaluate whether jumping, shooting, or dodging feels good.
- Focus on doing a few actions well: Legendary games are often built around just two or three masterfully executed core actions.
The Power of Visual and Audio Feedback (Juice)
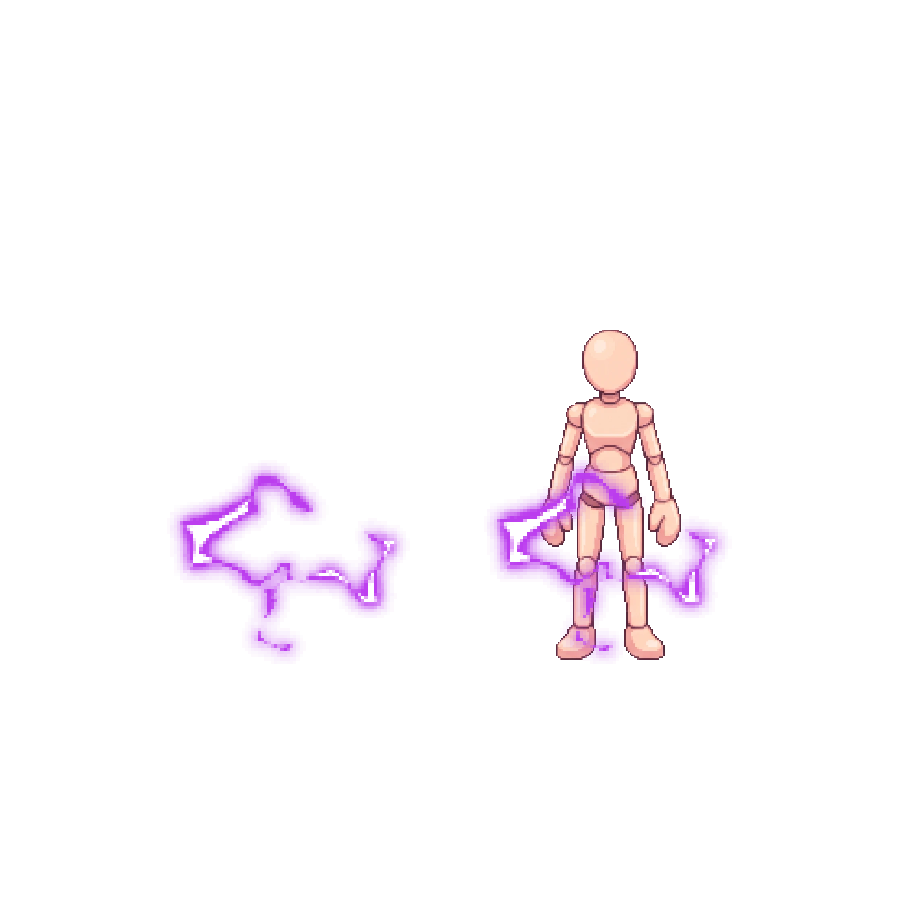
The difference between a dull mechanic and an exciting one often comes down to the visual and audio feedback provided to the player—a concept widely known in game dev as juice. Subtle screen shake, landing particles, light flashes, and punchy sound effects make interactions infinitely more rewarding.
2. Essential Level Design Principles
While game design defines the rules and mechanics, level design is the art of presenting these elements to the player across space and time. Good level design guides, challenges, and teaches without constant interruptions.
Guiding Players Without Overwhelming Tutorials
Text tutorials that freeze gameplay break immersion and frustrate players. Ideally, use the environment itself to communicate goals through visual language:
- Contrast and lighting: Use spotlights or vivid colors to draw player attention toward key objectives.
- Sightlines and framing: Position doors, arches, and structures to direct the camera angle toward points of interest.
- Subtly repeated visual cues: If breakable platforms share a specific color, players will naturally learn to spot them after their first encounter.
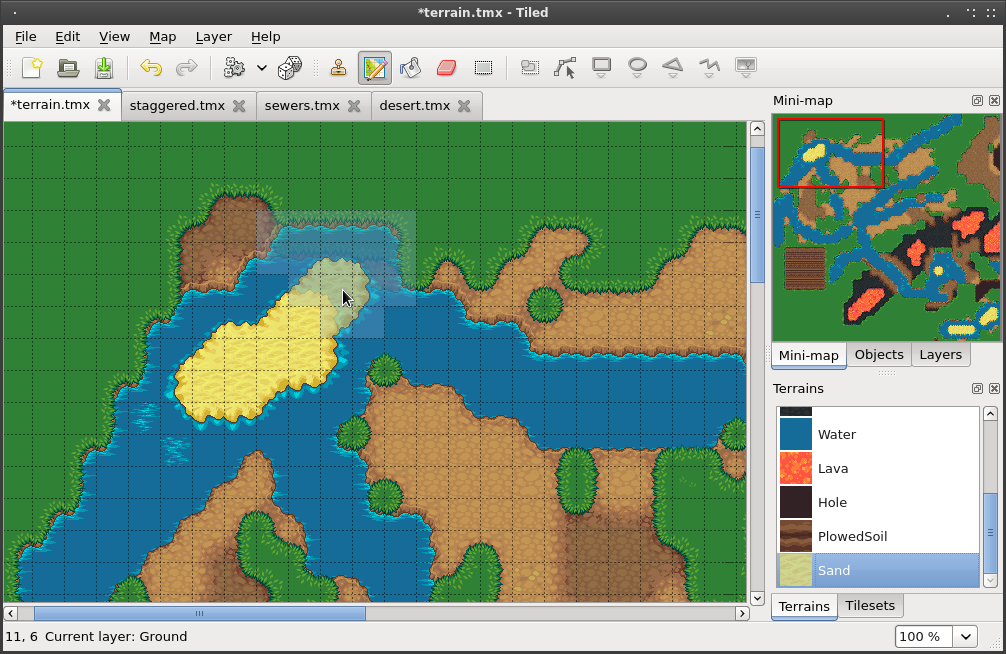 Tiled Map Editor is an essential tool for 2D level design planning. — Image: Thorbjørn Lindeijer · CC BY-SA 3.0 · Wikimedia Commons
Pacing: Alternating Between Tension and Relief
Keeping adrenaline at maximum capacity non-stop leads to player fatigue. A well-designed level structure alternates high-intensity moments with strategic pauses for exploration and digestion.
- Introduction: Introduce a new obstacle in a safe environment.
- Development: Combine the new obstacle with familiar mechanics.
- Climax: Challenge the player to prove mastery in a high-tension scenario.
- Breather: Provide a rest area, rewards, or a save point.
3. Scope Management and Productivity for Indies
The ultimate enemy of any indie project is feature creep—the endless accumulation of new mechanics and features that postpones release indefinitely.
Establish a Realistic Scope
To keep your project from running years past schedule, clearly define the number of levels, enemies, and mechanics needed to deliver your core experience. If your project demands 50 hand-drawn maps, ask yourself if that is truly realistic for your current team.
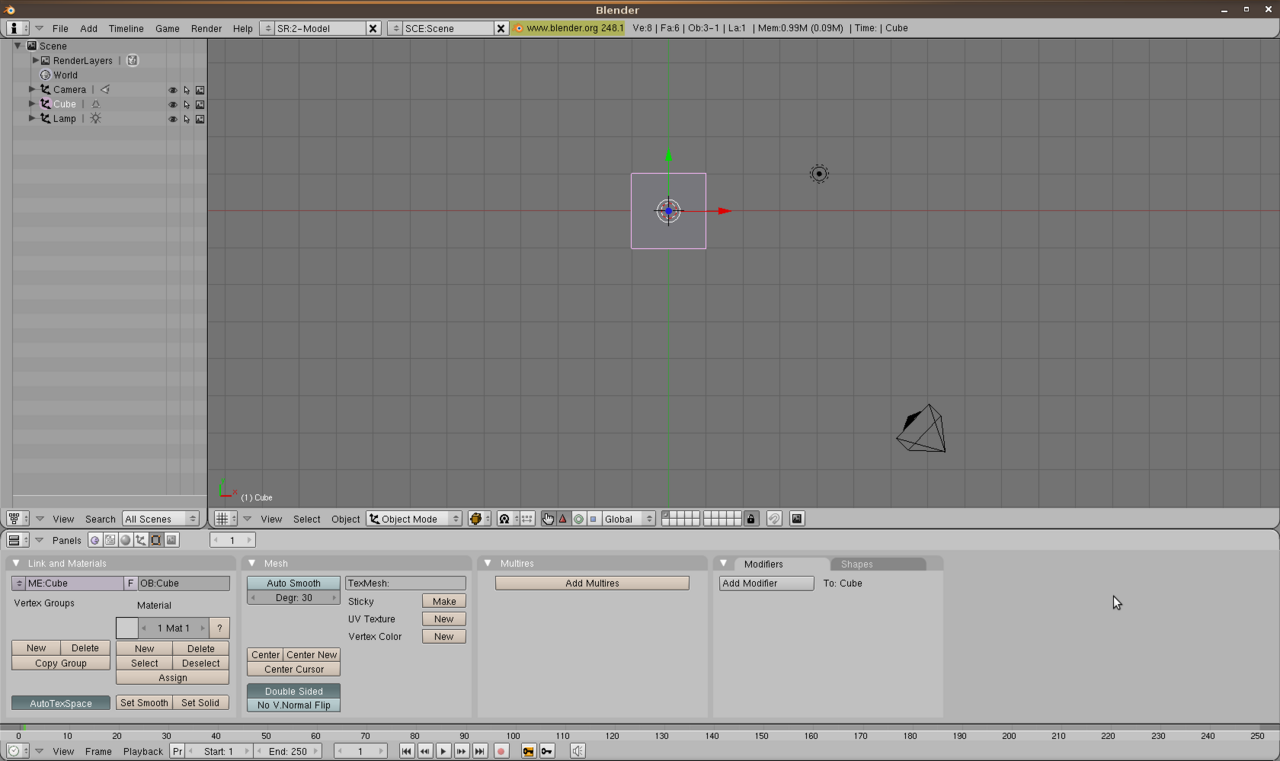 Visualizing 3D elements in Blender before assembling level layouts. — Image: Blender Foundation · CC BY-SA 4.0 · Wikimedia Commons
Speed Up Production with Ready-Made Assets
Creating every graphic asset, character, animation, and environment object from scratch requires hundreds of technical hours. Instead of spending months modeling every rock or drawing every tileset, smart developers turn to ready-made assets.
Using 2D sprite packs, monster assets, UI kits, 3D models, and tilesets allows you to focus your energy on what makes your game unique: game design and core programming. This not only dramatically cuts down dev time, but also helps maintain professional visual consistency from early on.
4. Practical Testing and Rapid Iteration
No level is perfect on the first attempt. Game development is fundamentally iterative, requiring continuous playtesting and adjustments based on real observations.
Using Grayboxing Effectively
Before applying final art, complex lighting, and detailed textures, build your level geometry using simple primitive blocks. This process is known as grayboxing (or whiteboxing).
- Enables fast iterations: If a section feels too long or boring, deleting a few gray blocks is far quicker than reworking detailed art.
- Focus on navigation: Ensure movement, jump arcs, and combat spacing feel right before spending time on visual polish.
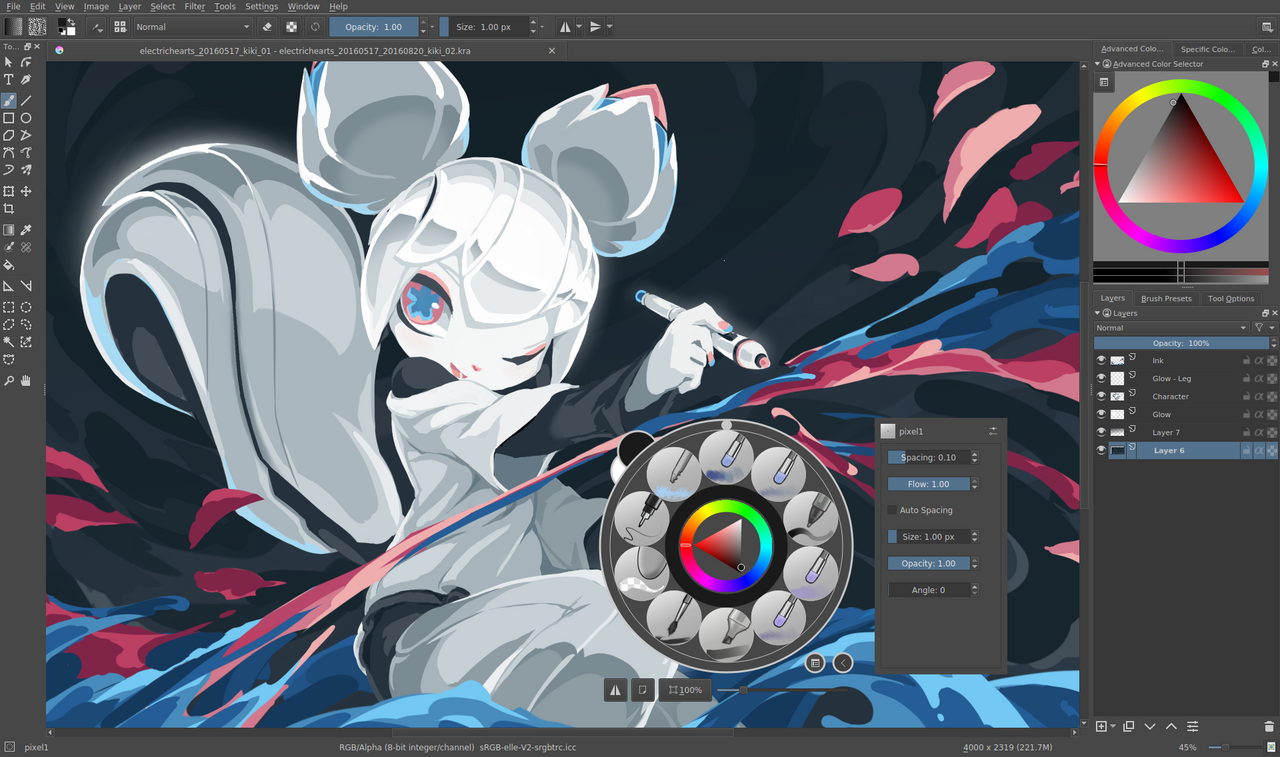 Visual editing and 2D art asset preparation inside Krita. — Image: Tyson Tan · CC BY-SA 4.0 · Wikimedia Commons
Blind Playtesting
Watching others play your creation is one of the most valuable experiences in indie game dev. However, to gather actionable data, you must conduct blind playtests without offering verbal hints:
- Don't give instructions: Leave the player alone with the game and observe where they get lost, which buttons they try to press, and where frustration occurs.
- Note choke points: If multiple playtesters get stuck at the exact same spot, it's a clear signal that the level design needs visual clarity or difficulty tweaks.
Improving your game design and level design skills is a continuous journey of learning, observation, and practice. By focusing on solid core mechanics, intuitive player guidance, smart scope management backed by quality assets, and constant playtesting, you'll be well on your way to creating engaging games ready for the market.