
Indie Level Design: Practical Tips for Game Designers
· #game design #level design #indie game development #gamedev #godot
Learn how to build memorable levels, guide player attention, and quickly validate mechanics using proven game design and level design techniques.
Creating a fun indie game goes far beyond programming responsive mechanics or drawing captivating characters. The real magic happens at the intersection of system rules and the space where the action unfolds: the constant dialogue between game design and level design. Many novice developers make the mistake of designing levels as simple corridors filled with random obstacles, resulting in monotonous or frustrating experiences.
Building memorable levels requires structure, a psychological understanding of player perception, and respect for the journey's pacing. Below, we explore practical, battle-tested strategies to transform your next project's design into a memorable experience.
1. Define Player Metrics Before Placing Any Block
Before laying down the first tile or raising the first 3D wall, you need to establish absolute player metrics. Level design depends entirely on the physical reach of the user-controlled avatar.
Document with mathematical precision:
- Standard jump distance: How many pixels or meters does the character reach horizontally in a standing vs. running jump?
- Maximum jump height: What platform height requires a single jump, double jump, or ledge mantle?
- Movement speed and acceleration: How long does it take for the player to cross a 1920x1080 screen?
- Hitbox size: What gap and door width is required for fluid navigation without frustrating snags?
Build a "metric test gym" (a test bed level) containing platforms of varying heights, gaps of different widths, and tight corridors. Never start building real levels until the core movement physics are locked down; otherwise, any later jump tweak will break dozens of already crafted levels.
2. The Four-Step Structure: Nintendo's Design Philosophy
One of the most elegant methodologies for introducing mechanics and creating cohesive levels is the Eastern concept of Kishōtenketsu, widely used in Nintendo games (as well as titles like Super Mario 3D World and Celeste). This approach breaks down mechanics into four structured acts:
- Introduction (Ki): Introduce a new mechanic in a safe environment without risk of death or severe punishment. The player intuitively discovers how it works through low-stress button pressing.
- Development (Shō): Place the same mechanic in a practical context with moderate risk. Failing costs health or sets the player back slightly, consolidating what they learned.
- Twist (Ten): Combine the element with a previously mastered mechanic or introduce an unexpected complication (e.g., platforms moving under wind pressure).
- Conclusion / Mastery (Ketsu): A challenging climax requiring precise execution of the learned technique, followed by immediate relief or reward before transitioning to the next area.
This formula ensures players feel a constant sense of progression and mastery, doing away with invasive text tutorials that break immersion.
3. The Power of Greyboxing: Mechanics First, Art Second
The biggest time-sink for a solo dev or small team is the temptation to visually polish a level before ensuring it is actually fun to play. Greyboxing (or whiteboxing) consists of assembling the entire level skeleton using basic gray blocks, primitive geometric shapes, and crude colliders.
During greyboxing, you evaluate visibility, sightlines, traversal time, and enemy encounter balance. If a level is boring with gray cubes, slapping hyper-realistic textures or lush volumetric lighting on it will not make it fun.
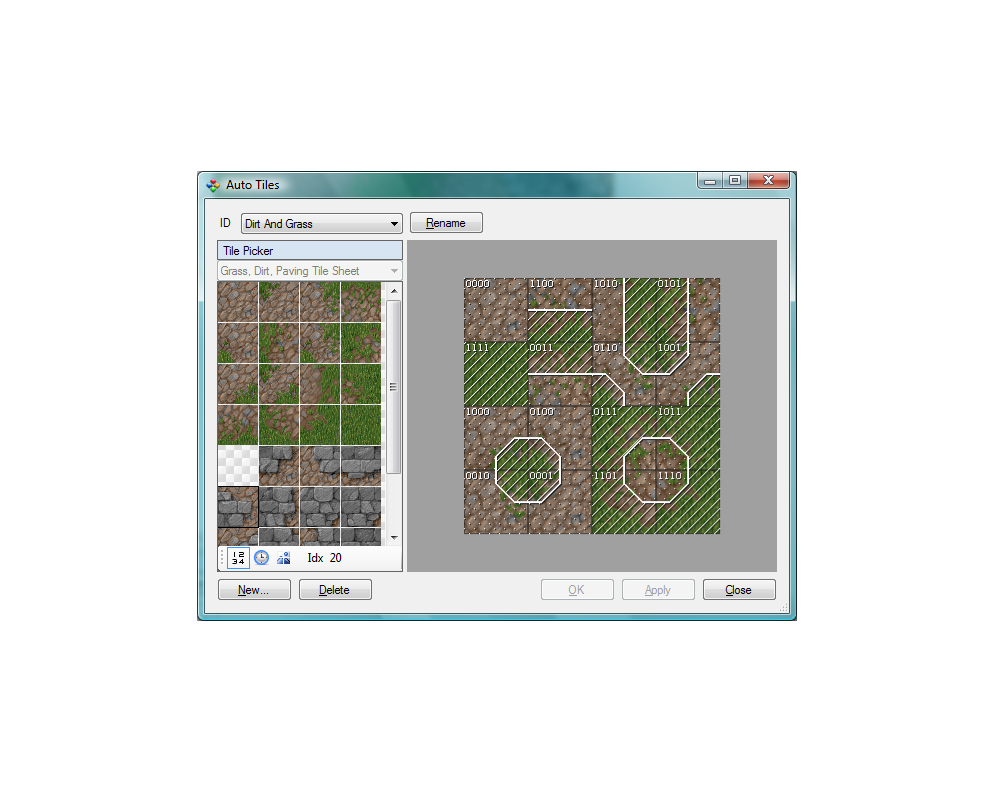
Once the layout is ergonomically tested and validated, you can swap the blocks for final environment assets. To optimize your pipeline and keep the focus on gameplay rules, turning to ready-made asset packs—such as modular 2D tilesets, dungeon kits, or 3D environment models—saves hundreds of hours of art creation, letting you invest your energy into gameplay balancing instead of reinventing every castle brick.
4. Signposting and Guidance Without UI Markers
No player likes feeling aimlessly lost, but cluttering the screen with floating waypoints and intrusive minimaps dampens the joy of organic exploration. Modern level design uses signposting (environmental cues) to guide the player's eye:
- Lighting Contrast: The human eye naturally gravitates toward the brightest area on screen. Place light sources (torches, skylights, streetlamps) along the critical path and leave side routes or hazards in shadow.
- Leading Lines: Ground cables, sidewalk cracks, tracks, and angled ceiling beams should point toward the main objective.
- Color Language and Edge Design: Establish consistent visual codes. If a ledge painted yellow or draped with white cloth indicates it can be climbed, stick to that convention throughout the entire game.
- Landmarks: Create towering structures visible from a distance (a tall tower, a giant tree, a glowing mountain). These act as intuitive spatial compasses, helping players orient themselves and gauge relative distance.
5. Pacing: Balancing Tension and Relief
A common pitfall in indie games is keeping intensity cranked to the max at all times. Levels filled with non-stop frantic combat or relentless pixel-perfect platforming exhaust the player's mind (decision fatigue), dulling the reward of accomplishment.
A great level designer thinks in terms of heartbeats:
- Tension Peaks: An intense wave of enemies, a complex trap room, or a timed escape sequence.
- Valleys of Relief: A spacious hallway, a safe room with calming music, a save point, or an NPC dialogue area.
- Reward & Curiosity: A short side path that rewards exploration with a rare item, cosmetic, or in-game currency.
Alternate high-demand gameplay moments with contemplative breather moments. Victory tastes sweetest right after overcoming a peak of tension, giving players room to catch their breath and process their achievement.
6. Blind Playtesting: The Mirror of Reality
You know your game inside and out. You know exactly where every trap triggers, how many hits each enemy takes, and where the secret chest is hidden. Therefore, you are the worst person to test the usability of your own levels.
The single most valuable tool for an indie dev is blind playtesting. Hand the build to someone who has never seen the project, fold your arms, and do not say a word. Don't offer hints, don't explain the controls, and don't defend your design choices.
Watch with hyper-awareness:
- Where does the player look first when entering a room?
- Did they try jumping onto a surface that lacks collision?
- Did they walk right past an essential button without realizing it was interactive?
- Where did they show fatigue, repeat attempts out of frustration, or express genuine relief?
Every recurring trip-up across different playtesters points to a flaw in signposting or metrics in your level design—not a "lack of skill" on the playtester's part. Take note of every point of friction and iterate quickly.
Designing engaging levels is an ongoing exercise in empathy and interactive architecture. By establishing strict metrics, progressive concept introduction, rapid prototyping, and polished environmental signposting, your virtual worlds will gain coherence and elegance—ensuring the player's journey is fluid, fair, and above all, memorable from the first level to the last.