How to Import Sprites and Tilesets: Unity, Godot & GameMaker
· #pixel art #game dev #godot #unity 2d #gamemaker #tilesets #sprites
Learn how to import and configure spritesheets, tilesets, and pixel art in Unity, Godot, and GameMaker without visual distortions, bleed, or unwanted blur.
2D aesthetics remain one of the most popular and versatile approaches in indie game development. Whether due to the nostalgic charm of pixel art or the artistic flexibility of vector graphics, mastering the 2D art import pipeline is essential to ensuring your game has a polished, professional presentation.
However, many beginner developers face recurring issues when bringing art into game engines: blurry textures, flickering black lines between tile edges (the dreaded texture bleeding), and inconsistent character scales. Below, we break down the essential concepts and step-by-step setup for sprites and tilesets across the top three engines on the market: Godot, Unity, and GameMaker.
Technical Fundamentals of Pixel Art in Modern Engines
Before opening your software of choice, it's crucial to understand how modern graphics cards process 2D images. By default, most game engines apply linear filtering to smooth textures out when scaled or rotated on screen. While this approach works wonders for photorealistic 3D games, it destroys the crisp alignment of pixel art.
To ensure your images remain sharp, keep these three principles in mind:
- Texture Filter (Nearest Neighbor / Point): Disables bicubic or bilinear interpolation. Every pixel in the texture becomes a solid block of exact color with no blurry gradients around the edges.
- Lossless Compression: Aggressive compression algorithms (like low-quality DXT or ASTC) create hideous artifacts on limited color palettes. For pixel art, use lossless compression (such as raw PNG or High Quality compression).
- Pixels Per Unit (PPU) or Coherent Grid: Defines how many pixels of your texture equal one unit of distance in the physics engine world. Maintaining a consistent metric across the entire project prevents the visual artifact known as mixels (pixels of different sizes existing within the same scene).
Setting Up Sprites and Tilesets in Godot Engine
Godot has established itself as one of the most agile tools for 2D development thanks to its intuitive coordinate system and excellent native pixel art support.
1. Global Import Settings
To avoid tweaking textures individually, configure the entire project to render pixels correctly:
- Go to Project > Project Settings > General.
- Under Rendering > Textures, find Default Texture Filter and change it from Linear to Nearest.
- Under Display > Window > Stretch, set Mode to
viewportand Aspect tokeep. This ensures the game resizes while respecting aspect ratio without stretching pixels.
2. Creating and Configuring the TileSet
In Godot 4, level-building tools are centered around the TileMapLayer node (or the TileSet resource):
- Create a
TileMapLayernode and instantiate a newTileSetresource in the Inspector panel. - Set the Tile Size according to your artwork (e.g., 16x16 or 32x32 pixels).
- Drag your tileset image into the bottom TileSet tab. The engine will prompt you to automatically create tiles on the detected grid.
- Set up collision layers directly in the Physics Layers tab of the TileSet, drawing collision boxes only on solid level tiles.
Working with Sprites and Tilemaps in Unity
Unity is powerful and versatile, but demands meticulous configuration in its import settings for pixel art to display accurately.
1. Unity Texture Inspector
Whenever you import a spritesheet or tileset into the Assets folder:
- Texture Type: Choose Sprite (2D and UI).
- Sprite Mode: Change to Multiple if it's a sheet with multiple frames or tiles, or keep it Single for standalone icons and art.
- Pixels Per Unit: Set your base grid size (e.g., if your character tiles are 16x16, use 16).
- Filter Mode: Always set to Point (no filter).
- Compression: Change to None (or use High Quality if memory budget is tight on mobile platforms).
2. Slicing with the Sprite Editor
With Multiple mode selected, click the Sprite Editor button:
- Select the Slice menu at the top of the window.
- Change the slice type from Automatic to Grid by Cell Size.
- Enter the width and height of your tiles (e.g.,
X: 16, Y: 16). - Click Slice, then Apply in the top right corner.
3. Creating a Tile Palette
To construct levels in layers, go to Window > 2D > Tile Palette. Create a new palette, select a destination folder for block assets, and drag the sliced texture inside the window. From there, you can use the Tilemap Renderer brush to paint walls, platforms, and decorations into your scene.
Optimizing the Workflow in GameMaker
GameMaker was built with strong 2D roots and features one of the most intuitive workflows for artists and solo developers.
1. Color Interpolation
The first step when opening a new project is turning off unwanted anti-aliasing:
- Go to Game Options > Main (or target platform options such as Windows or HTML5).
- Under the Graphics tab, uncheck Interpolate colors between pixels.
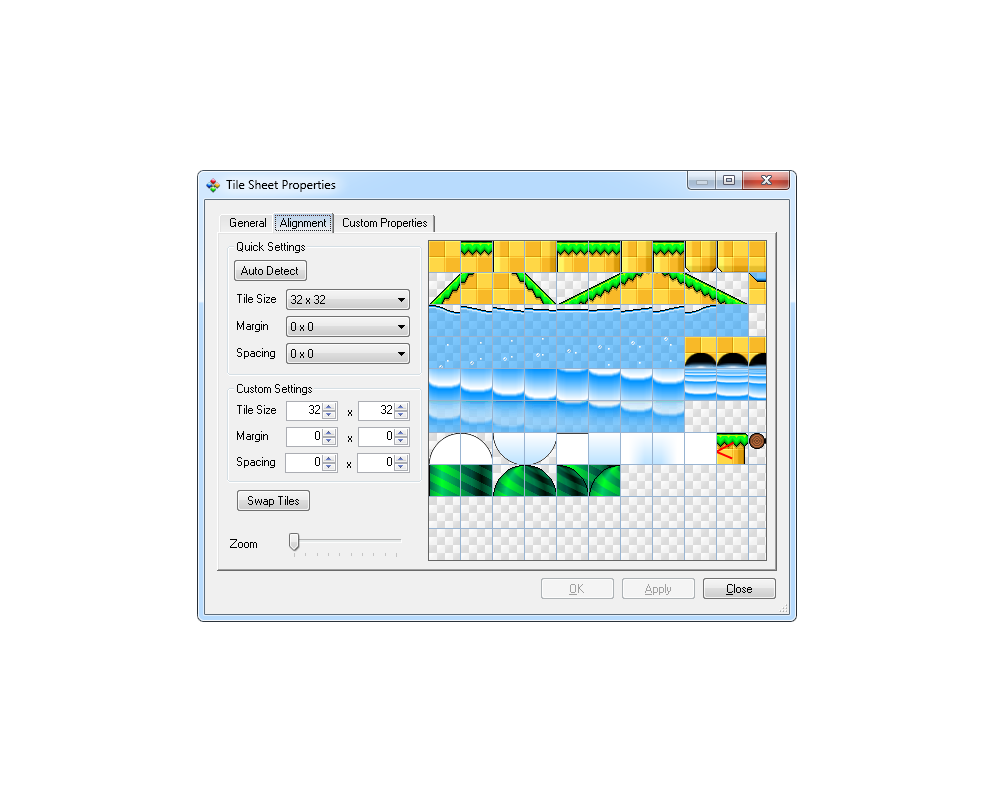
2. Native Tileset Creation
In GameMaker, sprites and tilesets have dedicated resources:
- Create a Sprite containing your full tileset image.
- Right-click in the asset tree and select Create > Tile Set.
- Assign the corresponding Sprite to the Tileset texture field.
- Set tile width and height in the left properties panel.
- GameMaker offers great Autotile tools: by setting up rules for 16 or 47 transitions, you can paint organic environments and the engine will pick corners and edges automatically.
Best Practices for Avoiding Common 2D Art Errors
Regardless of your engine, universal practices prevent rework during production:
How to Eliminate Pixel Bleed
Pixel bleed happens when a thin line from an adjacent tile bleeds onto the edge of the active tile during camera movement. To fix this:
- Add a 1 to 2 pixel border (padding) duplicating the edge color around each tile in your spritesheet.
- Texture atlas packing and slicing tools automate this extrusion process easily.
Maintain a Consistent Scale
Avoid scaling nodes or objects individually in the editor transform (such as setting scale 1.35x on one object and 2.1x on another). If a monster needs to be larger, draw it at a higher resolution while maintaining grid proportions, ensuring pixel density remains identical across characters, items, and environments.
Save Time with Structured Assets
For solo developers or small teams, drawing hundreds of animation frames, armor variations, portraits, and UI elements from scratch can delay release dates. Using pre-made asset packs with standardized grid specs (like 16x16 or 32x32 pixels) is a smart strategy to prototype mechanics fast and maintain visual consistency without sacrificing months of your schedule.
Conclusion
Mastering sprites and tilesets in Unity, Godot, or GameMaker comes down to understanding the relationship between sampling filters, import settings, and dimensional consistency. By standardizing your asset pipeline early in development, you eliminate major visual glitches and ensure your game's art style shines on any screen resolution or platform.